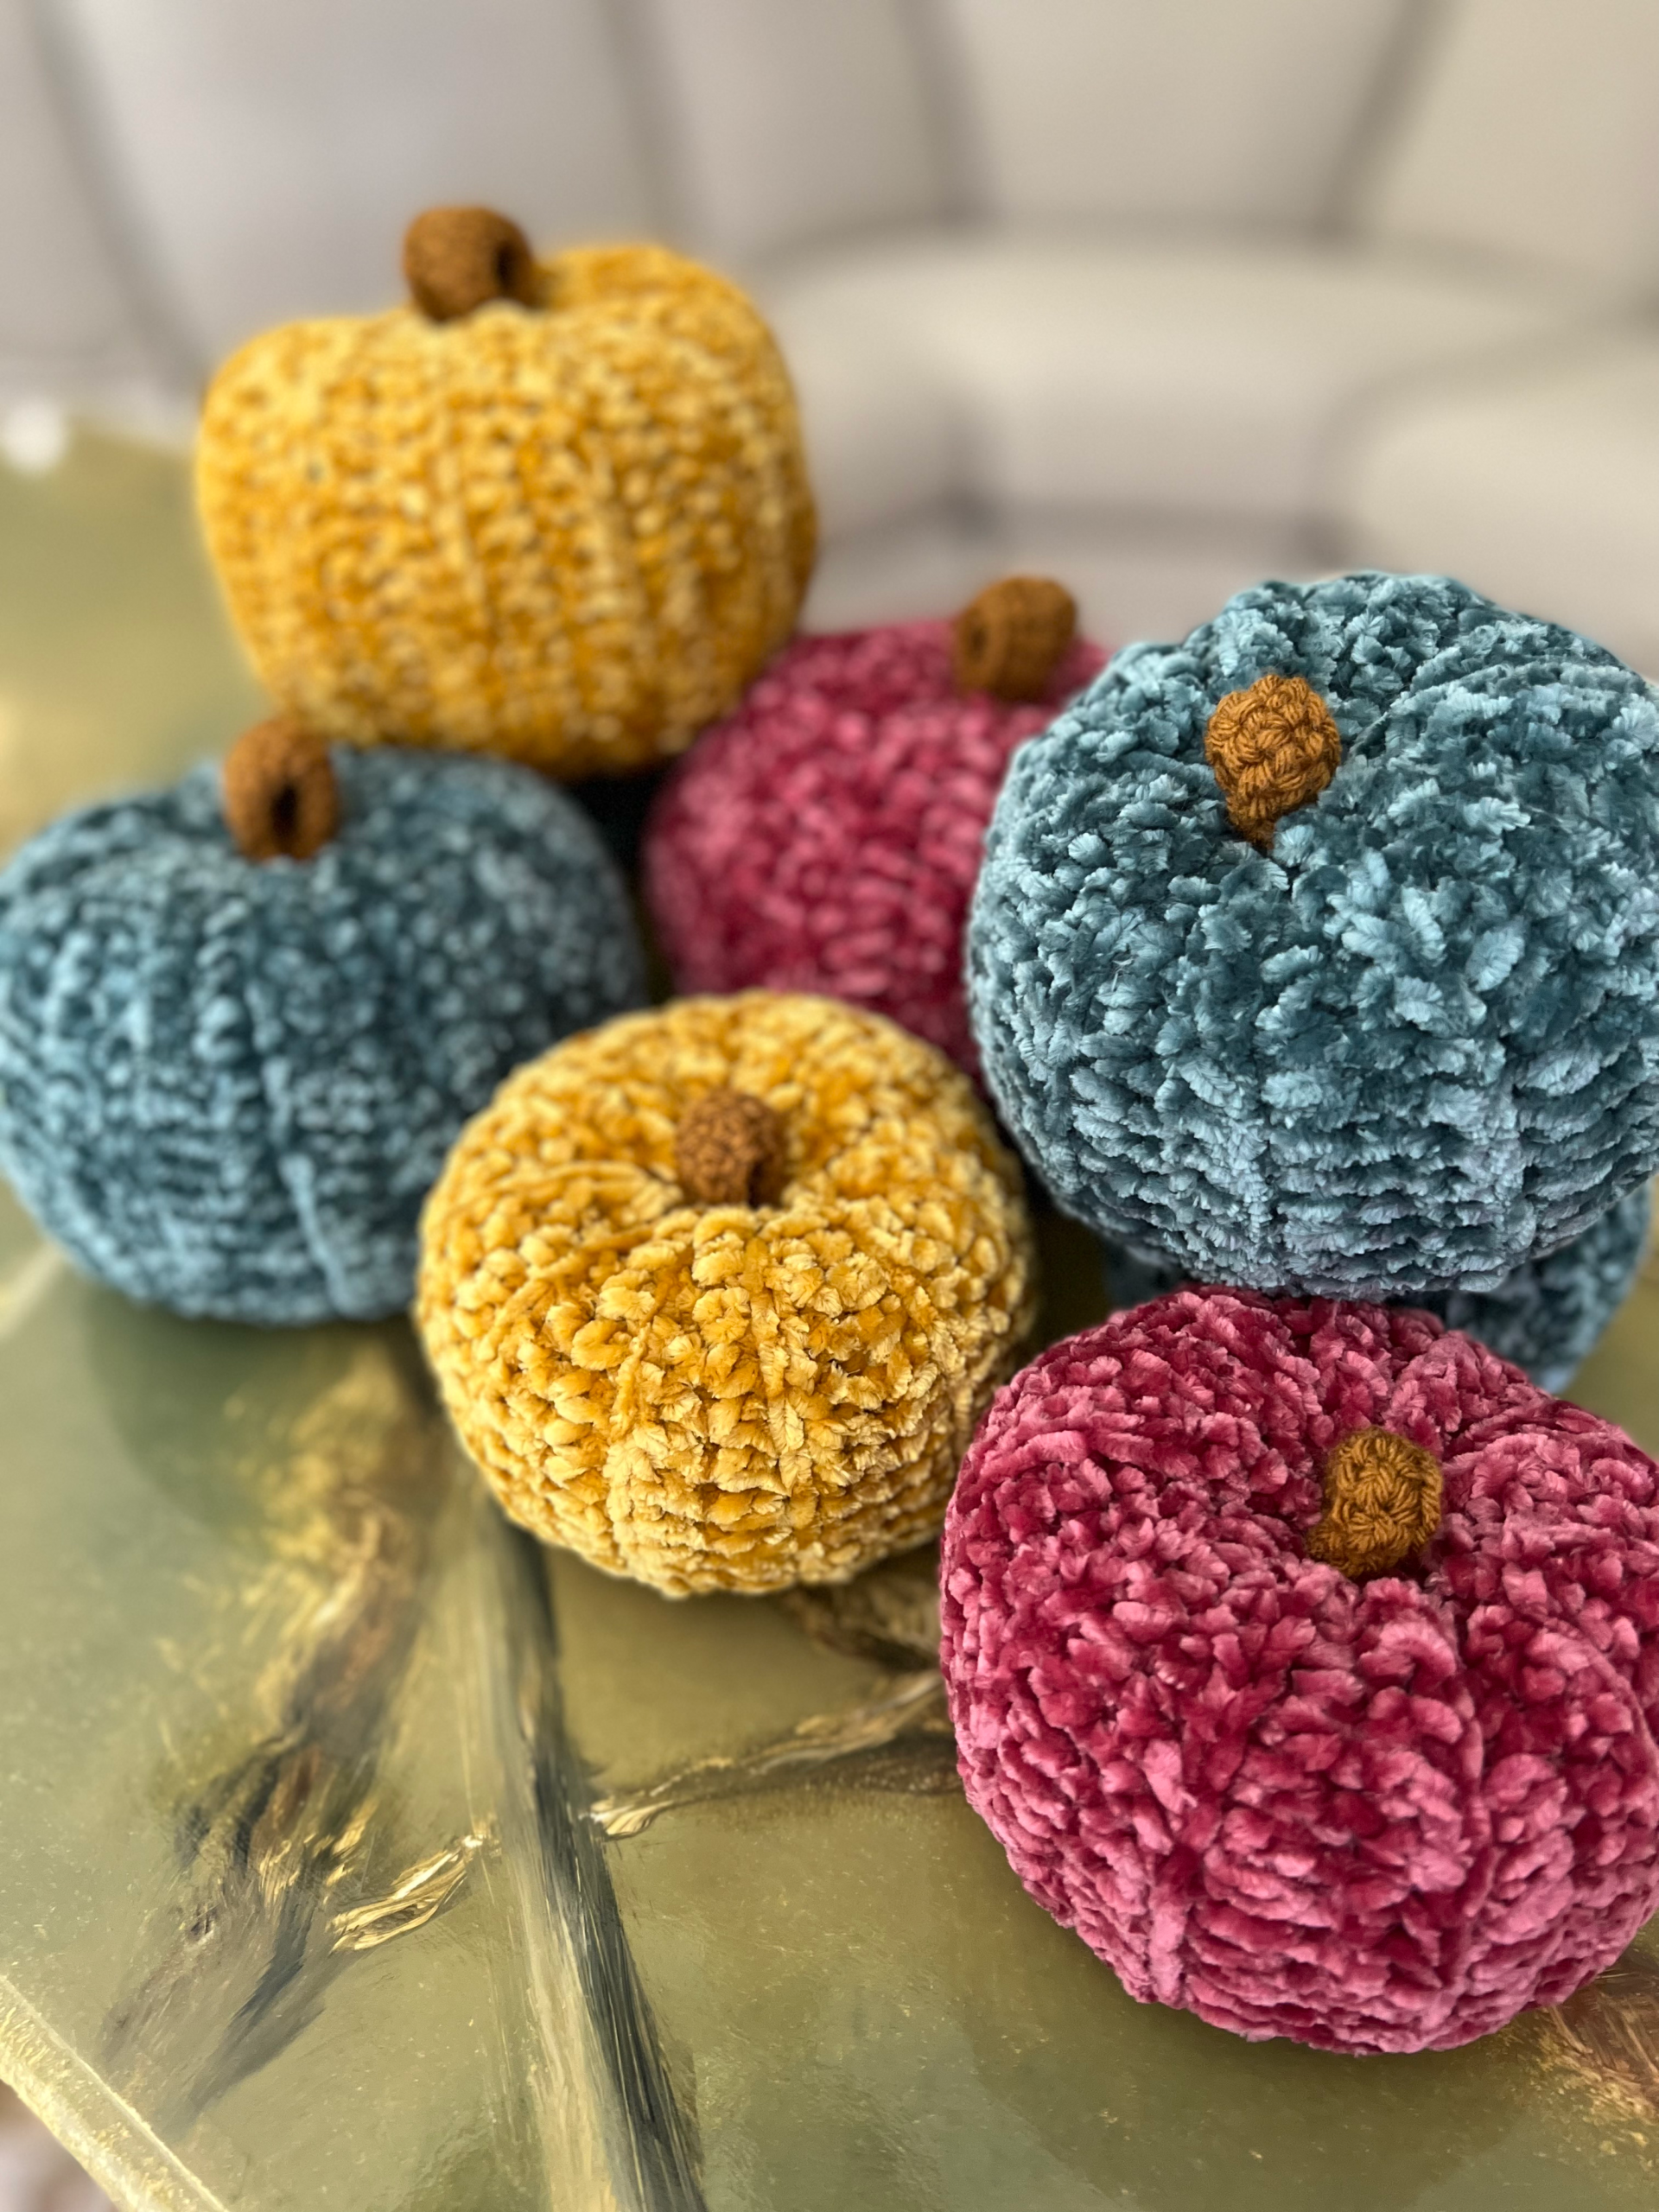
Every fall, I find myself reaching for my velvet yarn. It’s soft, squishy, and gives an elegant look to crochet pumpkins. If you’re looking for a beginner-friendly crochet pumpkin pattern that’s quick, simple, and full of fall vibes, this one’s for you!
This tiny pumpkin is worked flat with half double crochets only, so if you can chain, half double crochet, and work in the back loops, you’re good to go. The velvet yarn makes it look extra plush without any extra effort.
Although velvet yarn is my favorite for this tiny pumpkin, you can use any yarn for this pattern. Since velvet yarn can be hard to see stitch definition, I will show step-by-step photos using Lion Brand Heartland yarn, a 100% acrylic yarn.
Once you’ve made one, you can easily adapt this pattern to be any size you want by simply adding to your starting chain and row count.

Tips for Working with Velvet Yarn
Velvet yarn gives such a gorgeous texture, but it does have its quirks:
- Stitches can slip: The fuzz can hide your stitches, so count as you go to stay on track.
- Secure your ends: Knots can slip out of velvet yarn easily – leave long tails and weave in securely instead.
- Use a slightly smaller hook: This helps the stitches sit tighter so stuffing doesn’t peek through.
- Don’t overwork it: If you frog (unravel) velvet yarn too much, it can lose its fluff. Try to work confidently the first time through.
- Mark your first stitch: When you get to the end of a row, sometimes it’s hard to tell where that final stitch is. Even confident crocheters may benefit from having a stitch marker in place!
Once you’ve got the hang of it, velvet yarn makes the most luxurious pumpkins!

This post may contain affiliate links. We only recommend products we would use ourselves and all opinions expressed here are our own. Read our full privacy policy and disclosures here.
Materials Needed
Velvet Pumpkin
- Bulky (#5), Bernat Velvet (100% Polyester), 315 yards (288 m) per 300 g (10.5 oz) skein
- Pomegranate – 1 skein or 45 yards
- Worsted (#4), Lion Brand Heartland (100% Acrylic), 251 yards (230 m) per 142 g (5 oz) skein
- Bryce Canyon – 1 skein or 2 yards
- US I (5.5 mm) & G/7 (4.5 mm) hooks – we love Clover Amour hooks
Acrylic Pumpkin
- Worsted (#4), Lion Brand Heartland (100% Acrylic), 251 yards (230 m) per 142 g (5 oz) skein
- Bryce Canyon – 1 skein or 55 yards
- Worsted (#4), Lion Brand Basic Stitch (100% Acrylic), 185 yards (170 m) per 100 g (3.5 oz) skein
- Olive – 1 skein or 2 yards
- US G/7 (4.5 mm) hook – we love Clover Amour hooks
Other Notions Needed:
- fiber fill or other stuffing
- darning needle
- scissors
- stitch markers are optional
Abbreviations
US terms
- blo = back loop only
- ch = chain
- hdc = half double crochet
- sc = single crochet
- sl st = slip stitch
- sts = stitches
- yo = yarn over
Size
The finished velvet pumpkin measures approximately 4.5″ in diameter and 3″ tall.
The finished acrylic pumpkin measures approximately 4″ in diameter and 2.5″ tall.
Notes & Special Stitches
- Starting Chain: The Ch 2 at the beginning of each row does not count as a stitch.
- Stitch Counts: Stitch counts are listed at the end of each Round in [ ].
- hdc blo: Half double crochet back loop only
- Instead of working under both loops of the stitch, you’ll work through the back loop only. This will create a ridge in the fabric.
- To identify the back loop, first find the “V” along the top of the row you last worked. The back loop is the loop farthest away from you (highlighted yellow in the photos below).

Begin your hdc as normal. Yo, insert your hook under the back loop.

Yo, pull up a loop, yo, pull through all 3 loops on your hook. Repeat across the row.


Pattern
Pumpkin
Ch 22
Row 1 – Hdc in 3rd ch from hook and in each ch across. [20 hdc]
Row 2 – Ch 2, turn, hdc blo in each st across. [20 hdc]
Repeat Row 2 until the length of your work measures twice the height, ending on an even number of rows.
After 22 rows, my work measured 5.5″ x 11″. (For the acrylic pumpkin, I crocheted 30 rows and it measured 5″ x 10″)


Assembly
Ch 1 and turn. Fold your work over so the 2 short edges meet. Sc the two short edges together to form a tube, working through the blo on one edge and the ch on the other edge.
Cut yarn, leaving an 18″ tail for closing your pumpkin.


Turn your work inside out. This will now be the RS of your work.
With a darning needle, weave yarn through every other stitch until you go all the way around. Pull your yarn tail tight to close the top of the pumpkin. Go back through the stitches in the opposite direction to secure.


Feed the yarn tail up through the center and out the other side. Then, stuff with fiber fill or other stuffing, keeping the yarn tail at the center of the pumpkin.


Using the same yarn tail, weave around bottom of the pumpkin in the same way as the top.
Feed the yarn through to the other side to add a dent in the pumpkin center and fasten off.


Stem
For a bigger stem, add more chains to the starting ch and/or add another row.
Ch 12.
Row 1 – Sc in 2nd ch from hook and in each ch across. [11 sc]
Row 2 – Ch 1 and turn, sc in each st across. [11 sc]
Cut yarn, leaving a tail at least 4″ long.
Sew the two short ends of the stem together to form a loop.


Use the yarn tails to sew the stem to the center of the pumpkin.
Fasten off and weave in your ends!


Want more crochet pumpkins? Check out our other patterns & tutorials:


Alpine Pumpkin
One response
I love your work. You do a great job thank you.