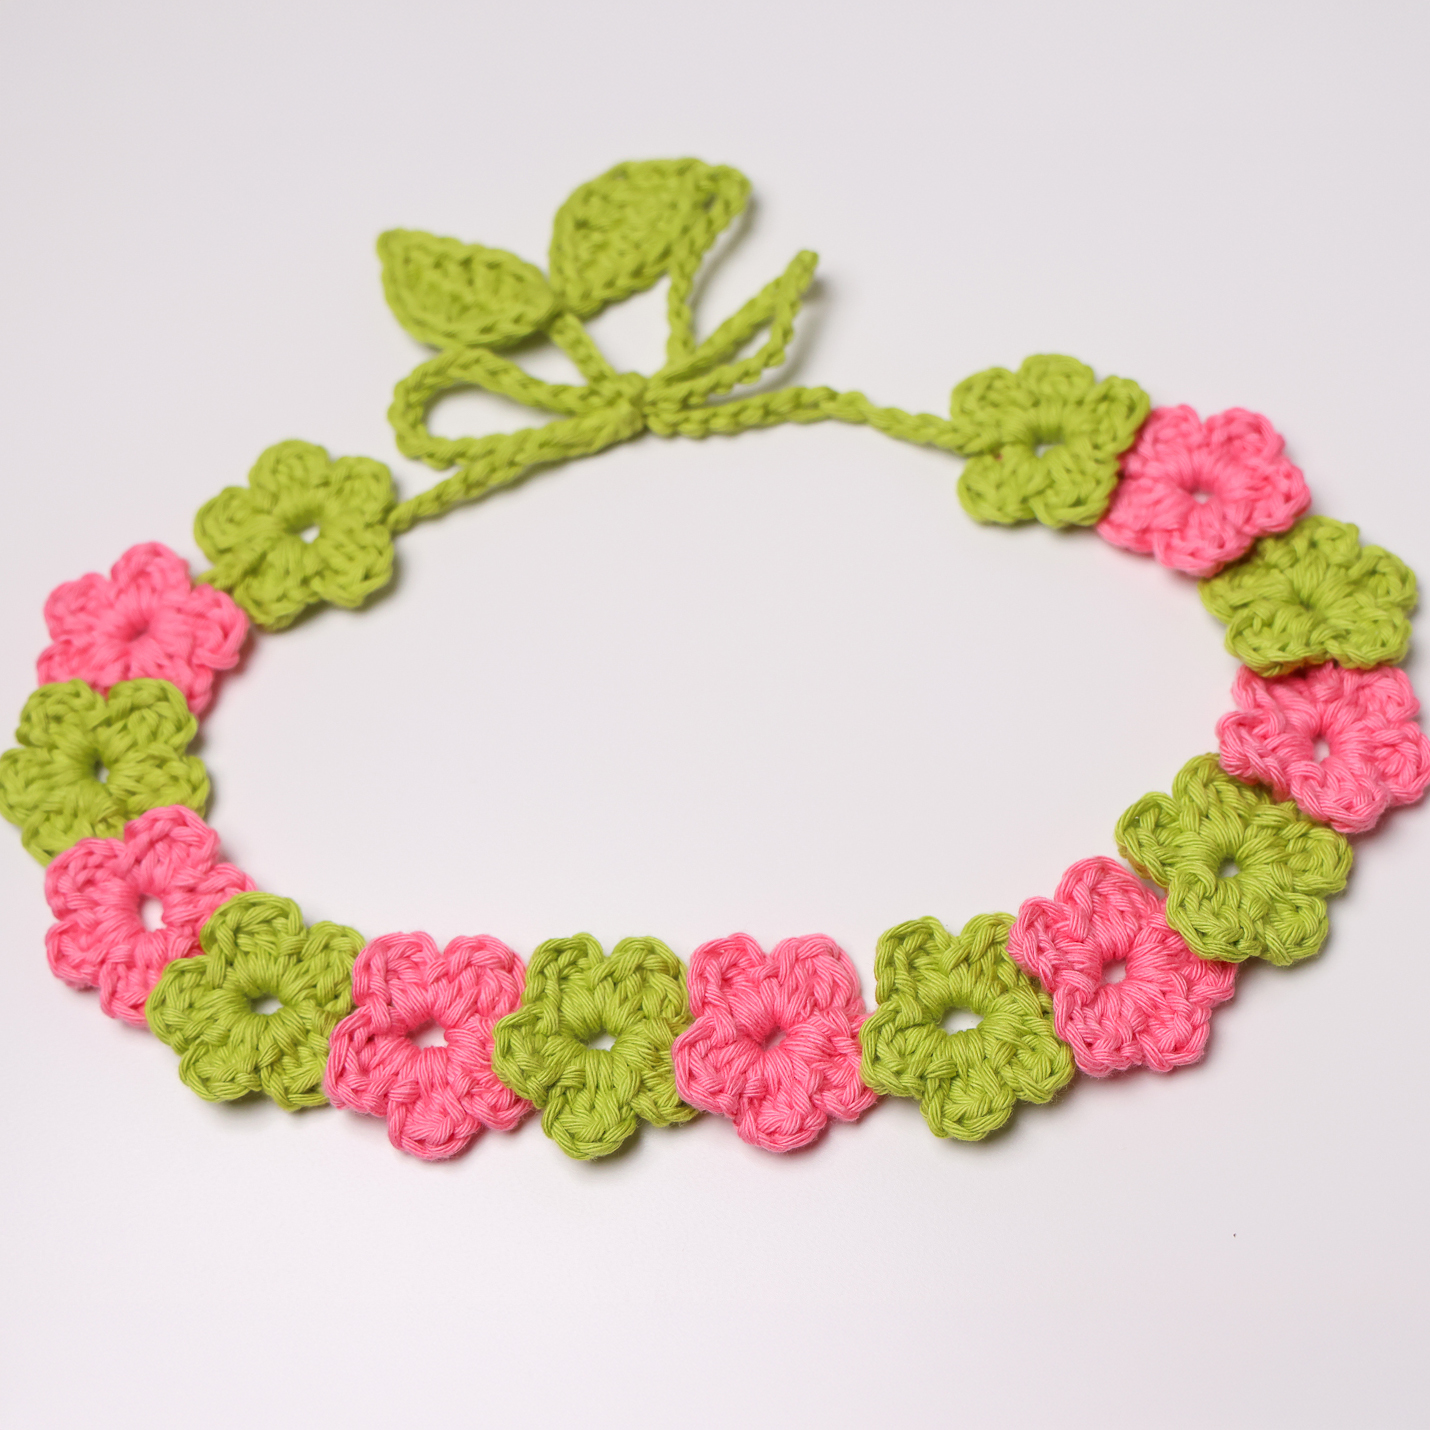
Looking for a crochet project that’s quick, cute, and easy to make your own? This flower headband is a fun little project that can be personalized in so many ways.
The design features simple flowers that are crocheted continuously, so you can keep going until you reach your desired length. If you’re only using one color of yarn, that means only a starting and ending tail to weave in! If you’re using more than one color, you can carry it along the back side.
While this pattern was originally designed as a flower headband, the possibilities don’t end there. Depending on how you make and style it, you can also turn this into a belt, bracelet, garland, window hanging, straps for a cute crochet top, and more!

Choosing Your Yarn
This pattern can be made with either Worsted (#4) or DK (#3) weight yarn, depending on how you plan to use it. For an adult headband, we recommend Worsted weight yarn because it creates a slightly sturdier finished piece that holds its shape well. DK weight yarn creates a lighter, more delicate version that can be especially nice for smaller accessories, decorative pieces, or a kid’s headband.

Make it Your Own
In the pattern below, we have 3 different options.
Option A is your base pattern, worked with only a single yarn. You can go super simple with a solid color, or add a little interest with a variegated yarn.
Option B is a minor change to the base pattern that allows the flowers to stand out a little more by adding space between each one. This is great for garlands especially or any other larger project. It creates a more open look.
Option C outlines how to change colors throughout the project. Use contrasting colors, two shades from the same color family, or pick your favorite colors!
Follow Along With Our Tutorial
We have a full step-by-step tutorial on YouTube that walks you through the pattern. And in this post, we’ll also demonstrate each step with photos, so you can follow along at your own pace.
This post may contain affiliate links. We only recommend products we would use ourselves and all opinions expressed here are our own. Read our full privacy policy and disclosures here.
Materials Needed
- DK (#3), Hobbii Friends Cotton 8/8 (100% Cotton), 82 yards (75 m) per 50 g (1.75 oz) skein
- Pistachio #108
- Candyfloss #45
- Total Yarn needed for a 17″ headband – 35 yards (41 m)
- Note: This yarn is closer to a Worsted (#4) weight yarn, which is the recommended yarn weight.
- US G/6 (4 mm) hook – we love Clover Amour hooks
- scissors
- tapestry needle
Abbreviations
US terms
- ch = chain
- dc = double crochet
- dc2tog = double crochet 2 together
- hdc = half double crochet
- MR = magic ring
- rep = repeat
- sc = single crochet
- sl st = slip stitch
- sts = stitches
Size
Finished headband measures 17″, not including the ties.
The size is completely adjustable. To make it bigger, just add more flowers!
Notes & Special Stitches
- dc 2: make 1 double crochet in the next two stitches
- {xyz}: repeat those stitches a certain number of times
- dc2tog: double crochet 2 together
- yo, insert hook into the ring, yo, pull up a loop (3 loops on hook), yo, pull through 2 loops (2 loops on hook). Yo, insert hook into the ring, yo, pull up a loop, yo, pull through 2 loops (3 loops on hook), yo, pull through all 3 loops on hook.
Pattern
Option A: Single Color
Tie
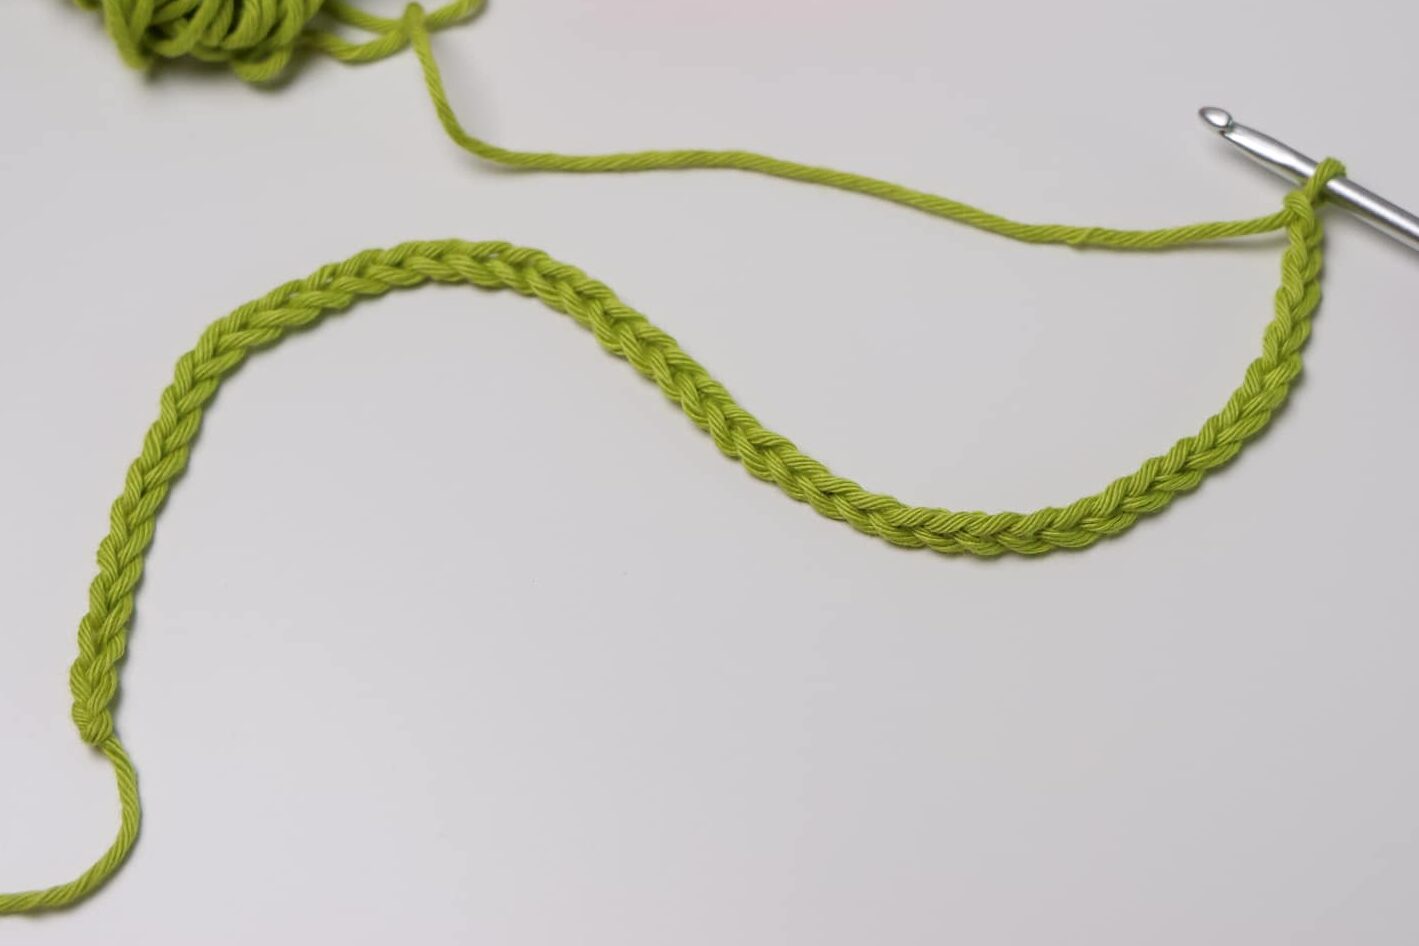
Begin by chaining the length of your tie. It should be long enough to tie in a bow if you’re wearing it as a headband, belt, or bracelet; or as long as you want it to be for a garland.
Then, add 5 more chains. These chains will create the center of the flower. Depending on your tension, yarn choice, or personal preference, you may want to ch 6 and sl st in the 6th ch from the hook instead for a bigger flower center.
Ch 40 (length of your tie) + 5.
Optional: Instead of a simple chain, you can add a cute leaf to the end of your tie.
First, ch 8.
Working in the back bumps, sl st in 2nd ch from hook, hdc, dc 2, hdc, sc, sl st.

Ch 1 and rotate to work along the back side of the chain.
Sl st, sc, hdc, dc 2, hdc, sl st.

Ch 40 (length of your tie) + 5.

Flowers
Then, begin making your first flower.
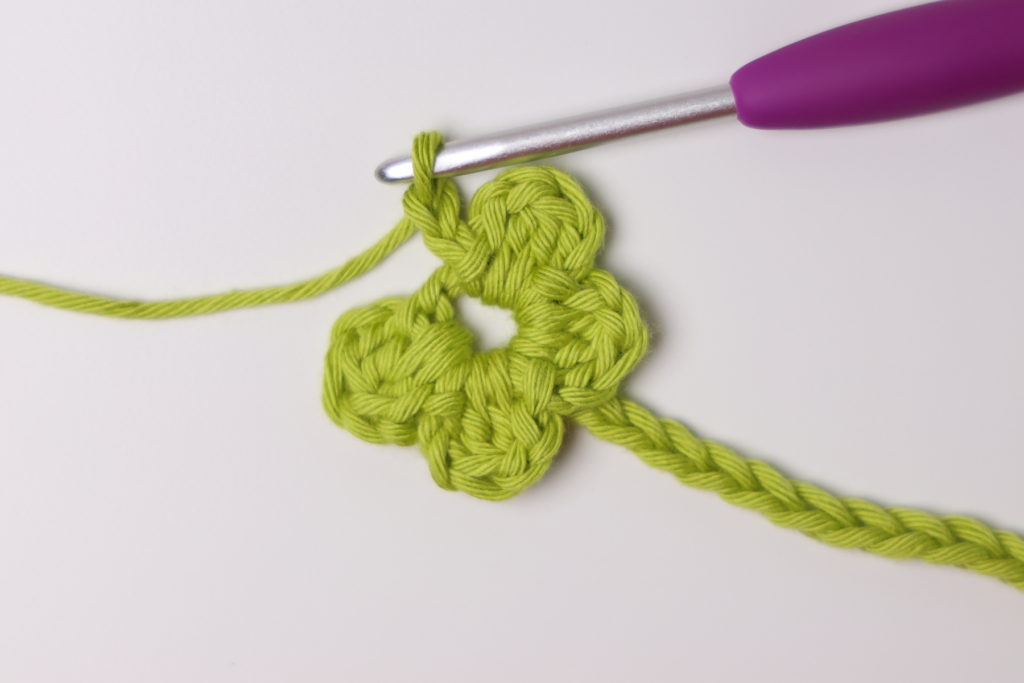
Sl st to the 5th chain from the hook to form a ring.

Make your first petal.
Ch 2, dc2tog, ch 2, sl st into the ring.


Make your 2nd petal.
Ch 2, dc2tog, ch 2, sl st into the ring.

Make your 3rd petal.
Ch 2, rotate to the other side of the chain, dc2tog, ch 2, sl st into the ring.

Make your 4th and 5th petals.
{Ch 2, dc2tog, ch 2, sl st into the ring} rep 2 times.
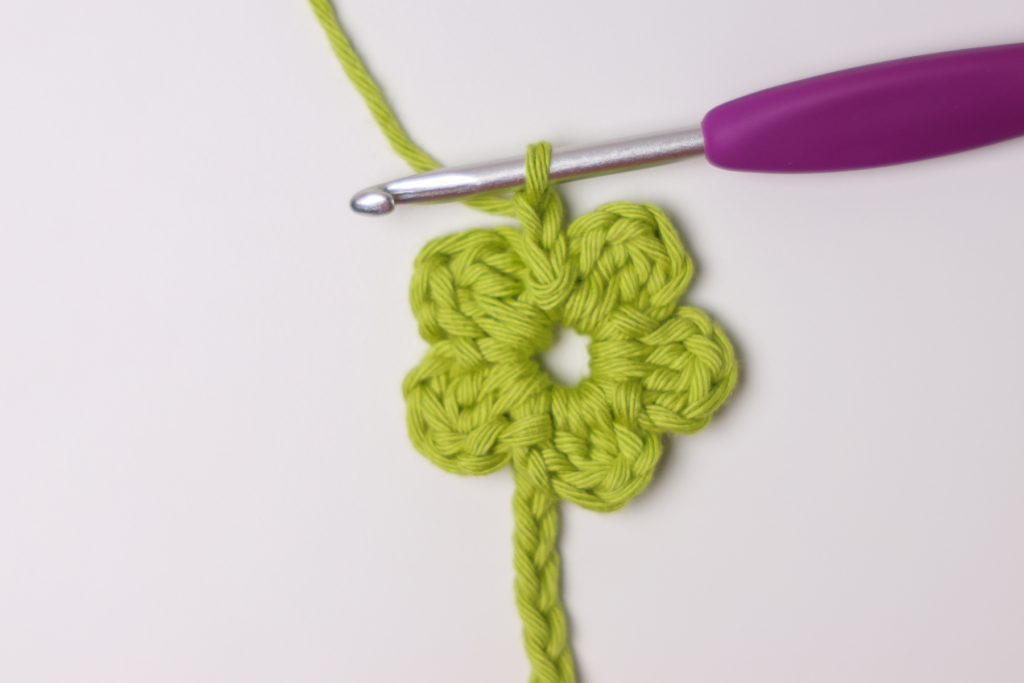
Begin making your second flower.
Ch 2 + 5.
This is the distance between flowers + the next flower center.
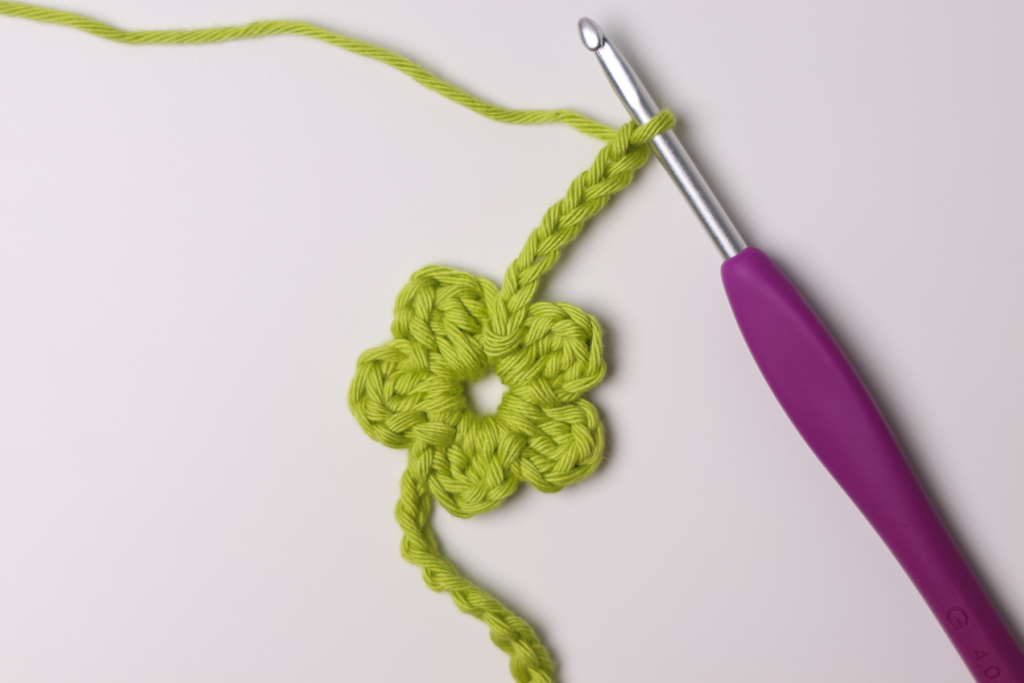
Sl st to the 5th chain from the hook to form a ring.

{Ch 2, dc2tog, ch 2, sl st into the ring} rep 5 times, rotating around the chain after the 2nd petal.

Repeat for remaining flowers until you reach your desired length. For my headband, I made 15 flowers which measures about 17″.
Ending Tie
To finish off your headband, chain the same length as you did at the beginning.
Ch 40 (length of your tie).
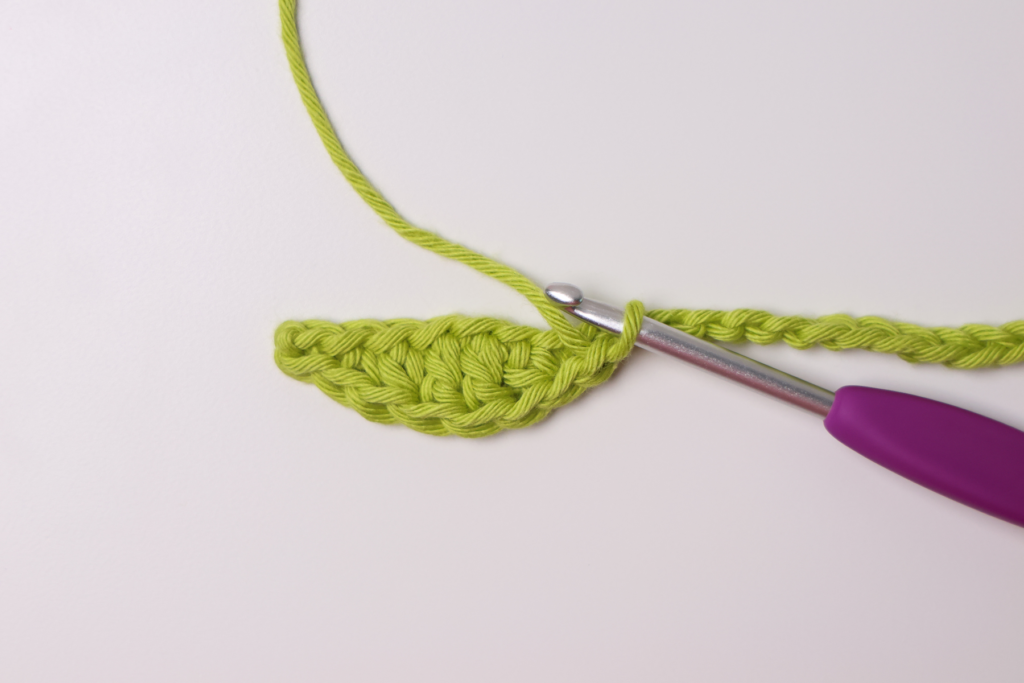
Optional: If you added a cute leaf to the beginning, add one here as well.
Ch 40 (length of your tie) + 8.
Working in back bumps, sl st in 2nd ch from hook, sc, hdc, dc 2, hdc, sl st.

Ch 1 and rotate to begin working on the back side of the chain.
Sl st, hdc, dc 2, hdc, sc, sl st.
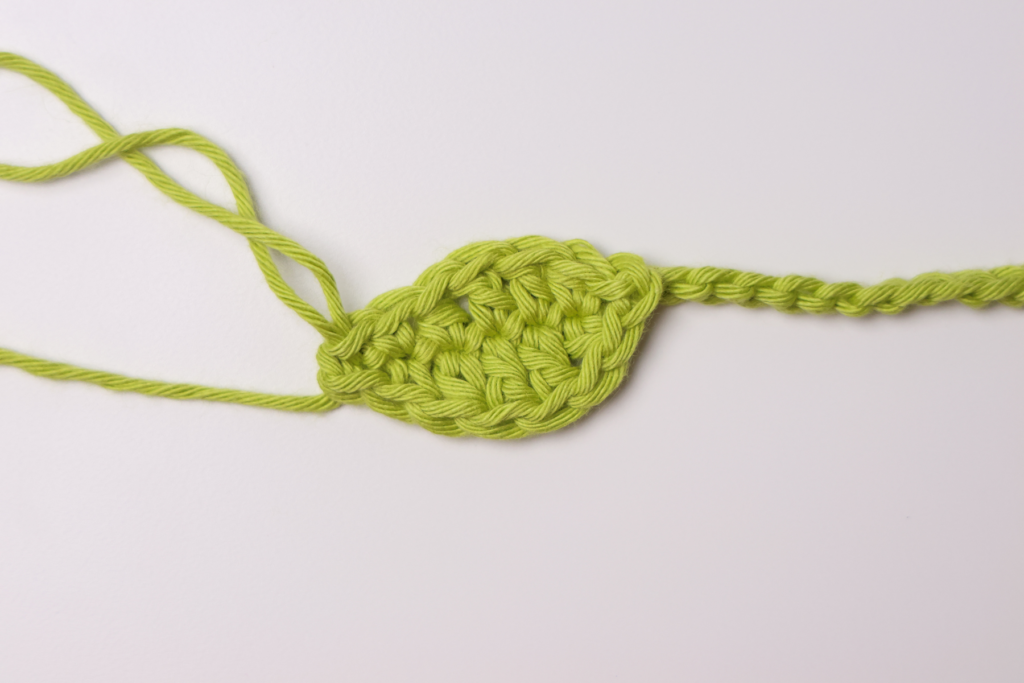
Fasten off and weave in your ends!
Option B: Extra Space Between Flowers
Follow the Tie and Flower instructions detailed above in Option A, but add extra chains between each flower. For example, for 5 chains between flowers, ch 5 + 5. For 15 chains between flowers, ch 15 + 5.
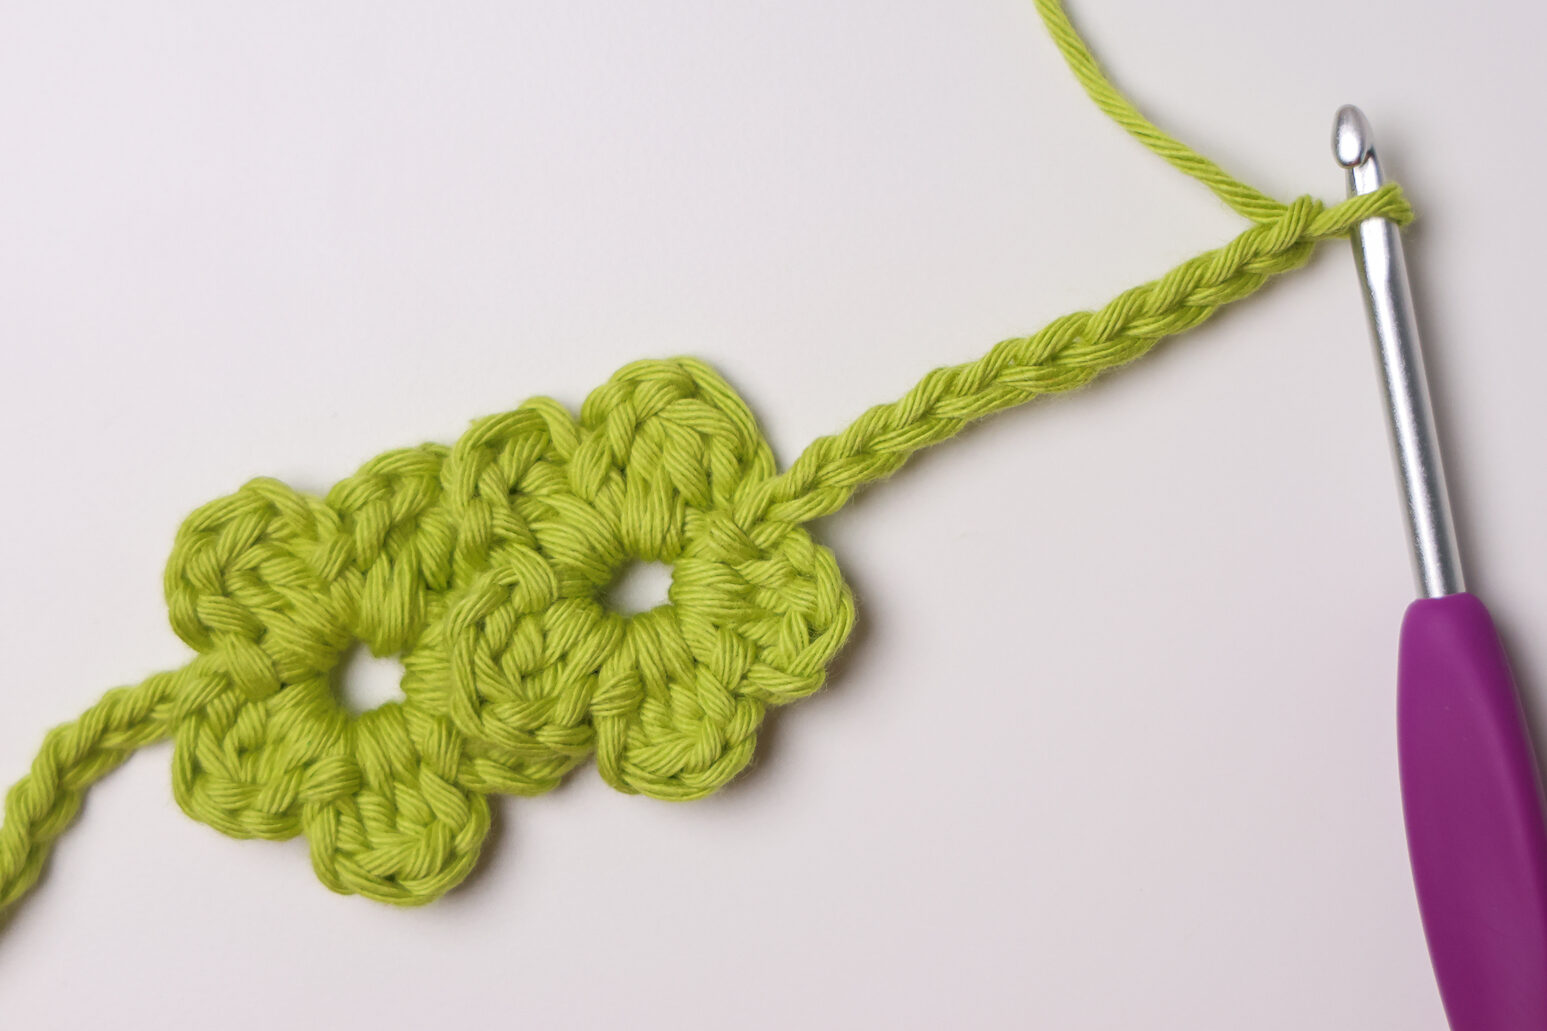
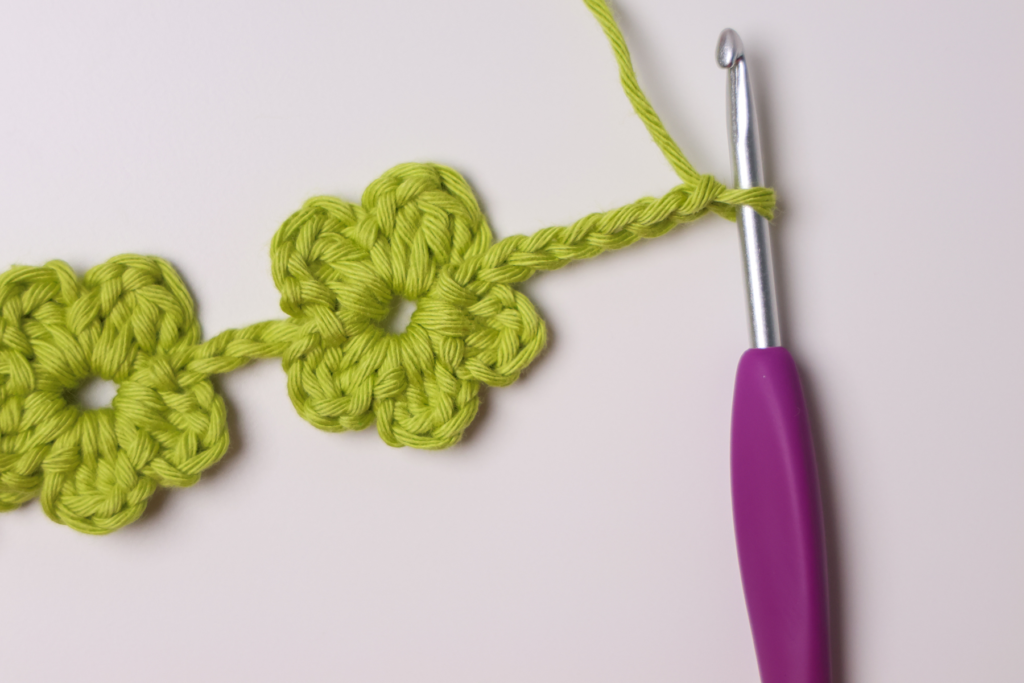

Option C: Alternating Colors
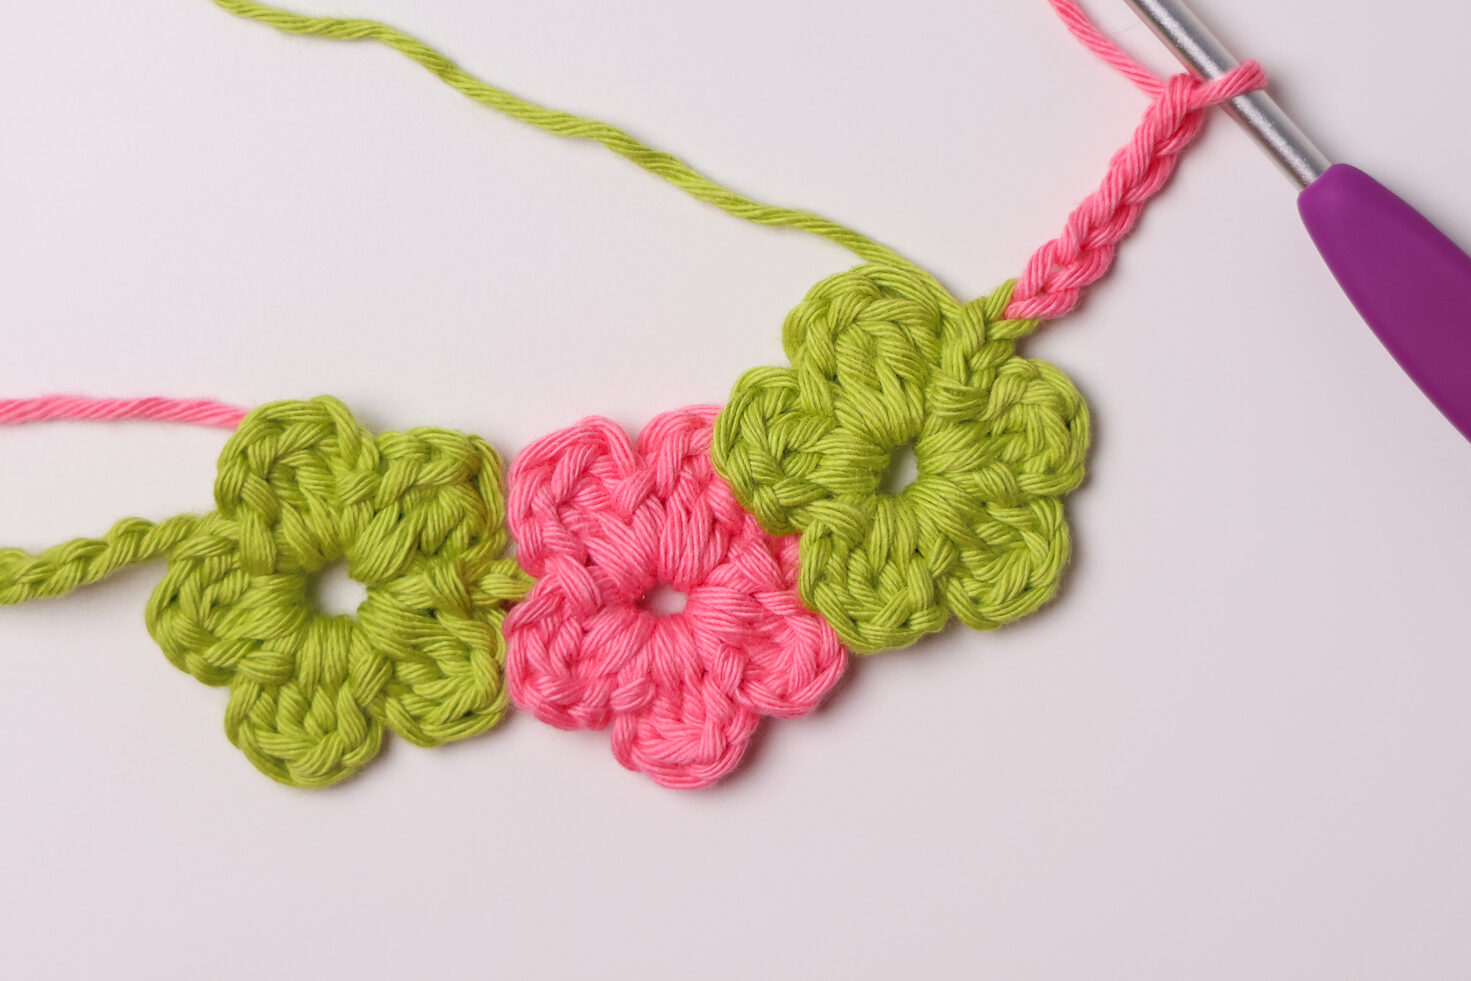
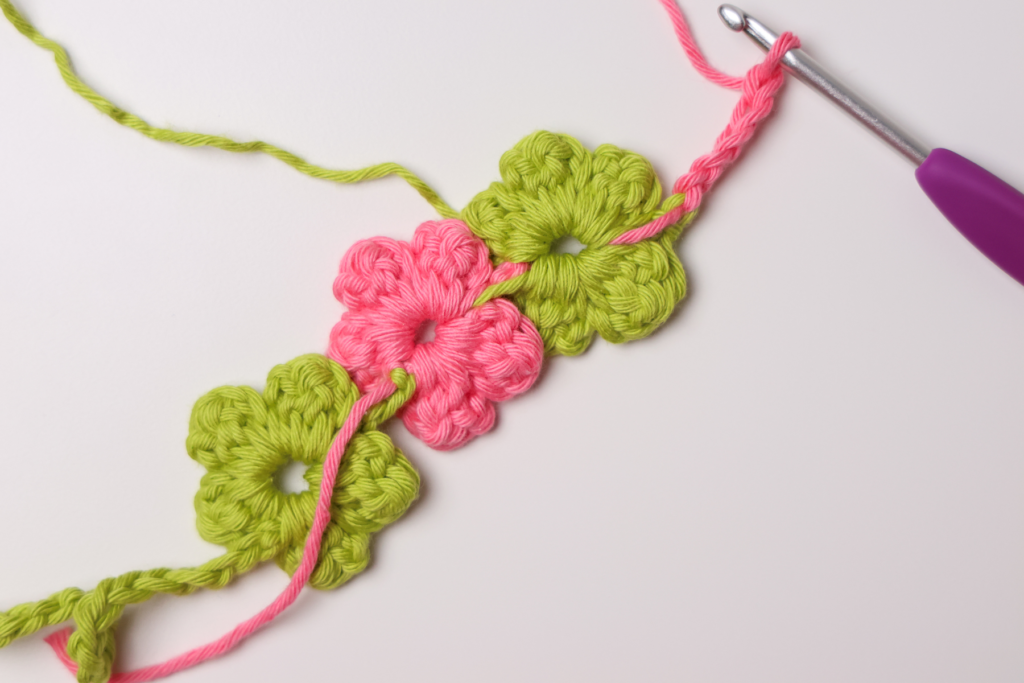
Follow the Tie and Flower instructions detailed above in Option A. Your first color change will occur once the first flower is completed.
With Color A (green), make the tie and flower #1.
Then, Ch 2 with Color A, drop your yarn and pull through with Color B (pink). Ch 5. Tie yarn tails in a knot to keep in place.
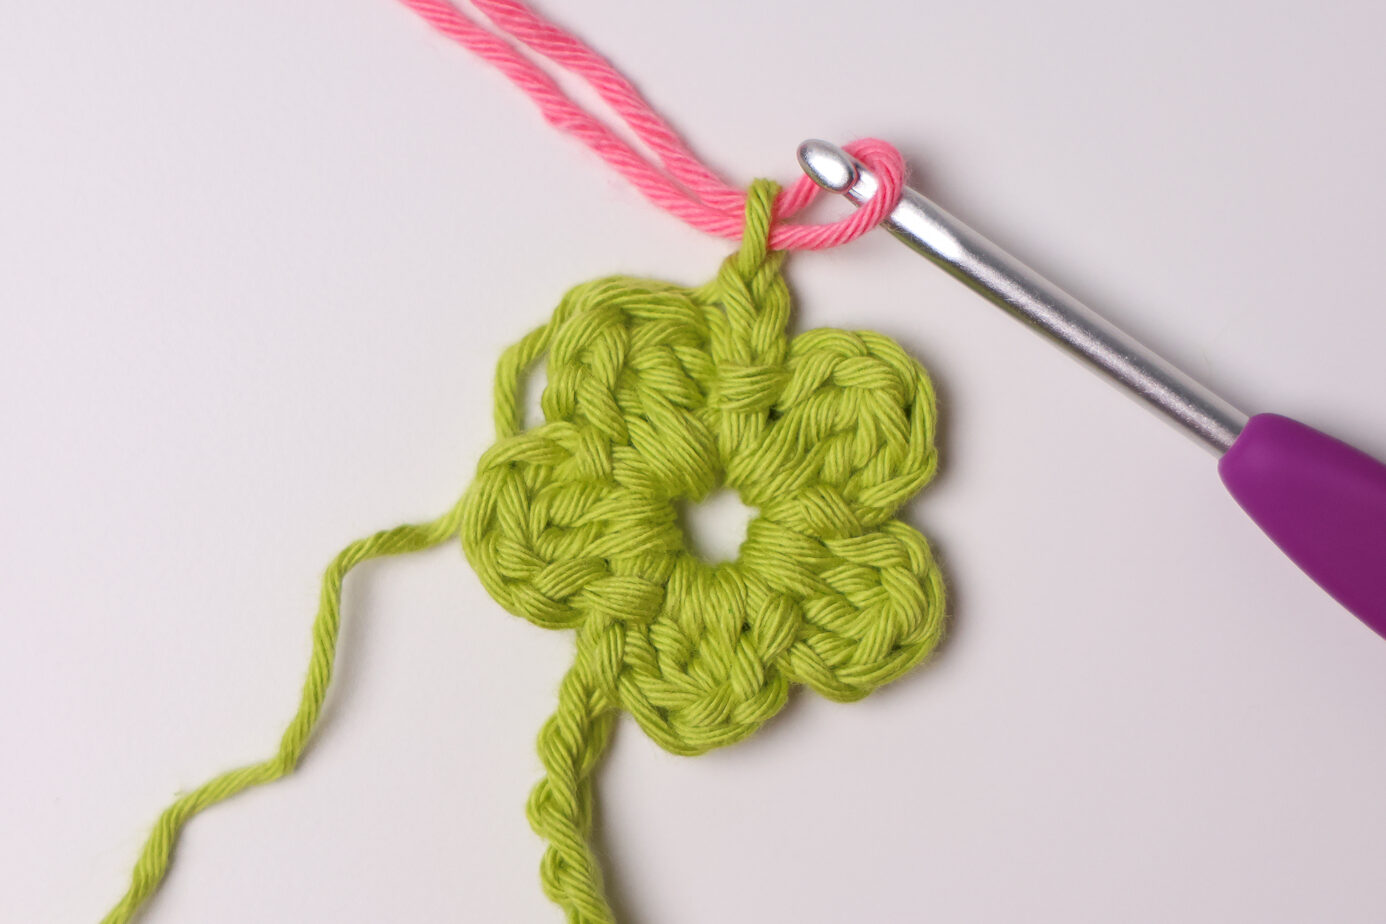
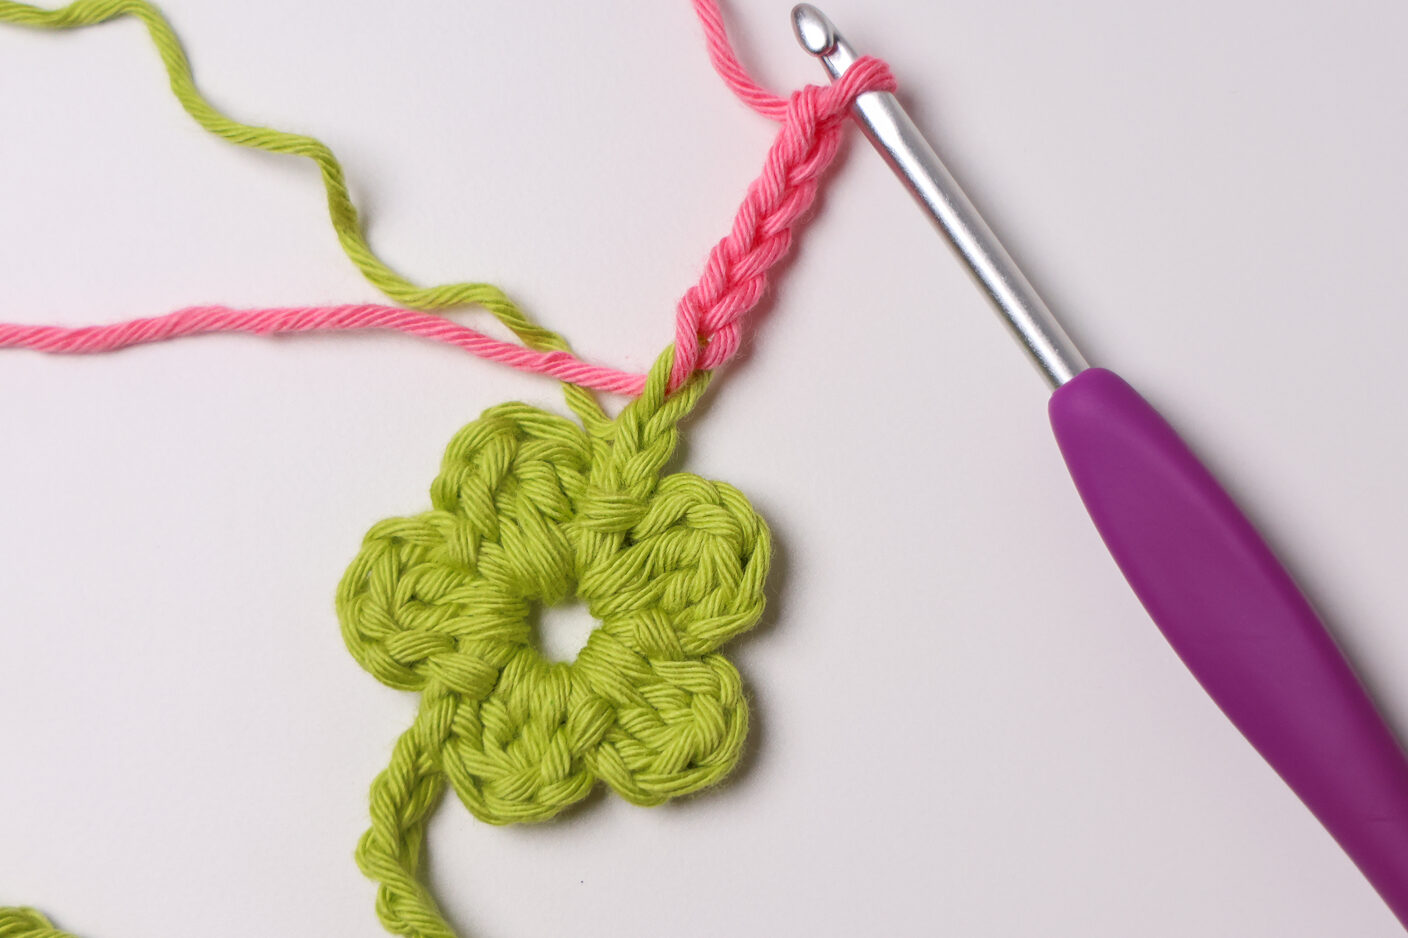
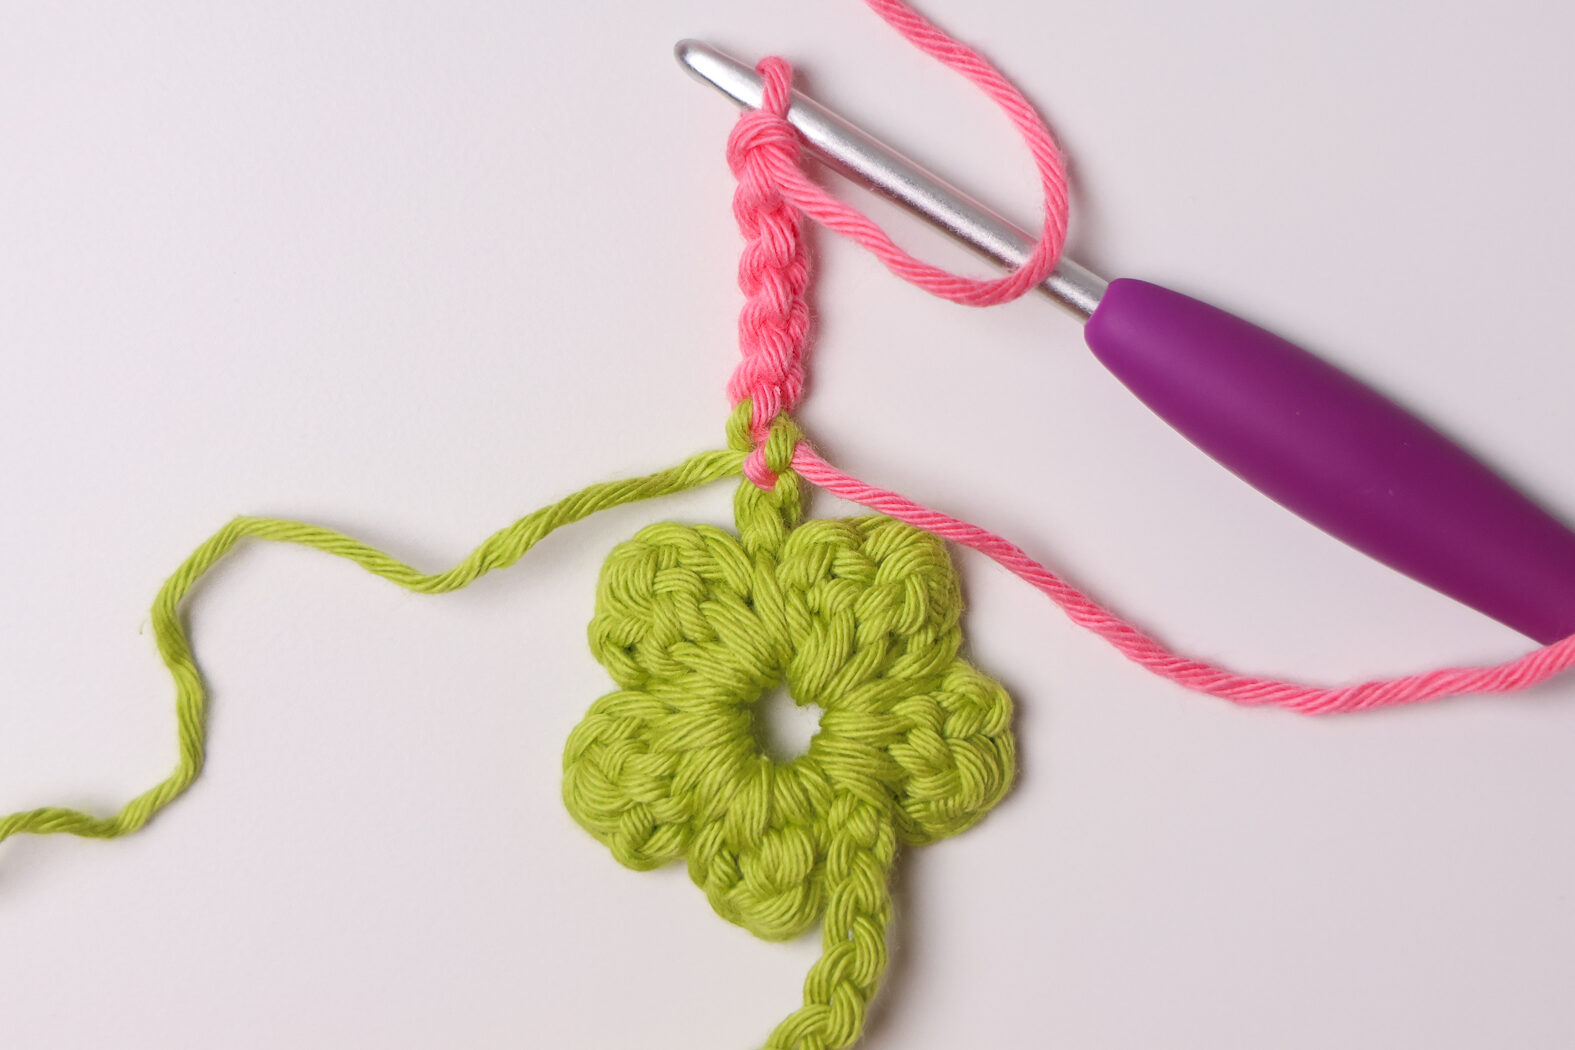
Continue as normal by making your first two flower petals.
Sl st to the 5th ch from the hook to form a ring, {ch 2, dc2tog, ch 2, sl st into the ring} rep 2 times.
Make your 3rd flower petal.
For the remaining petals, carry Color A yarn behind your work, crocheting over it.
Ch 2, rotate to the other side of the chain, dc2tog, ch 2, sl st into the ring.
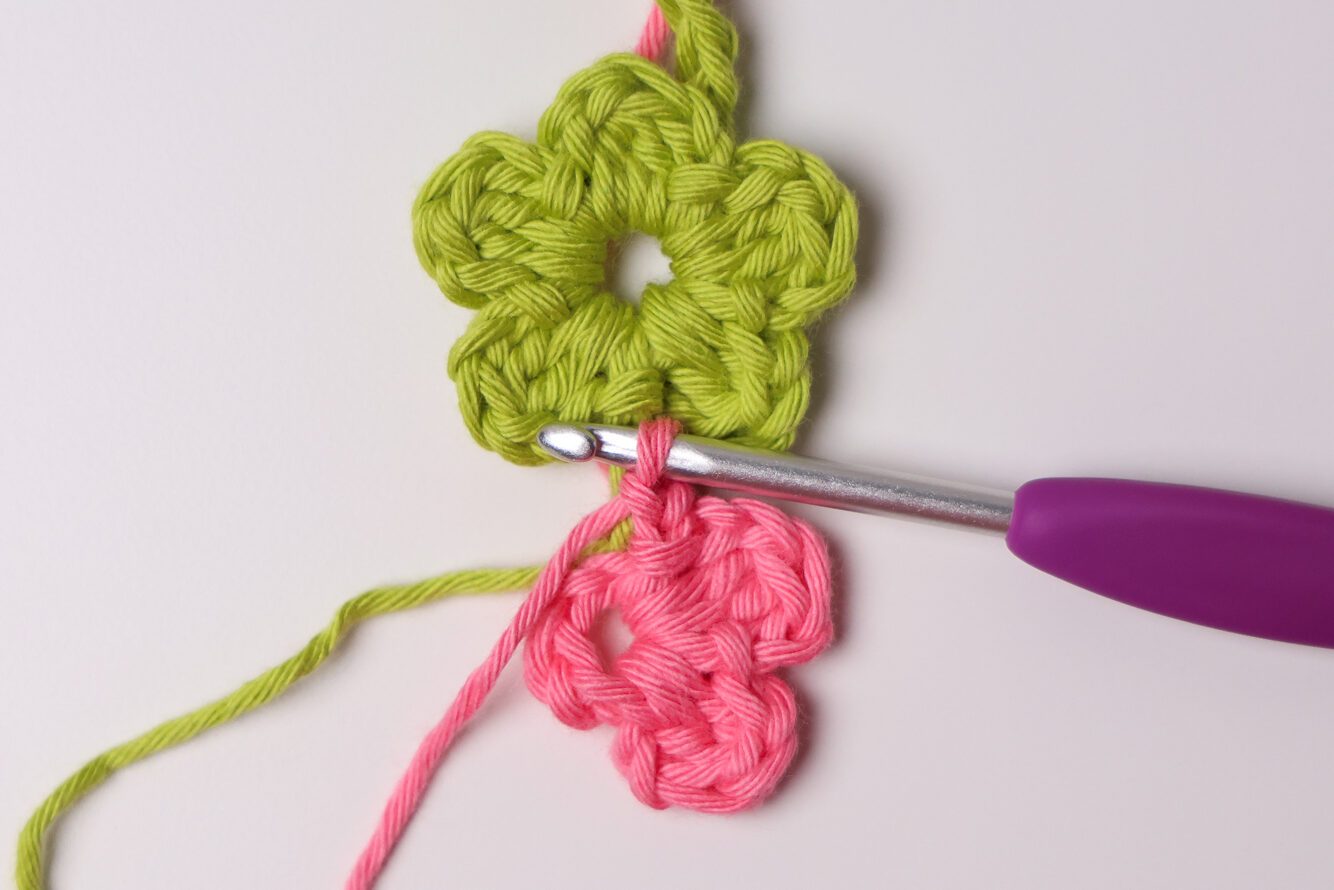
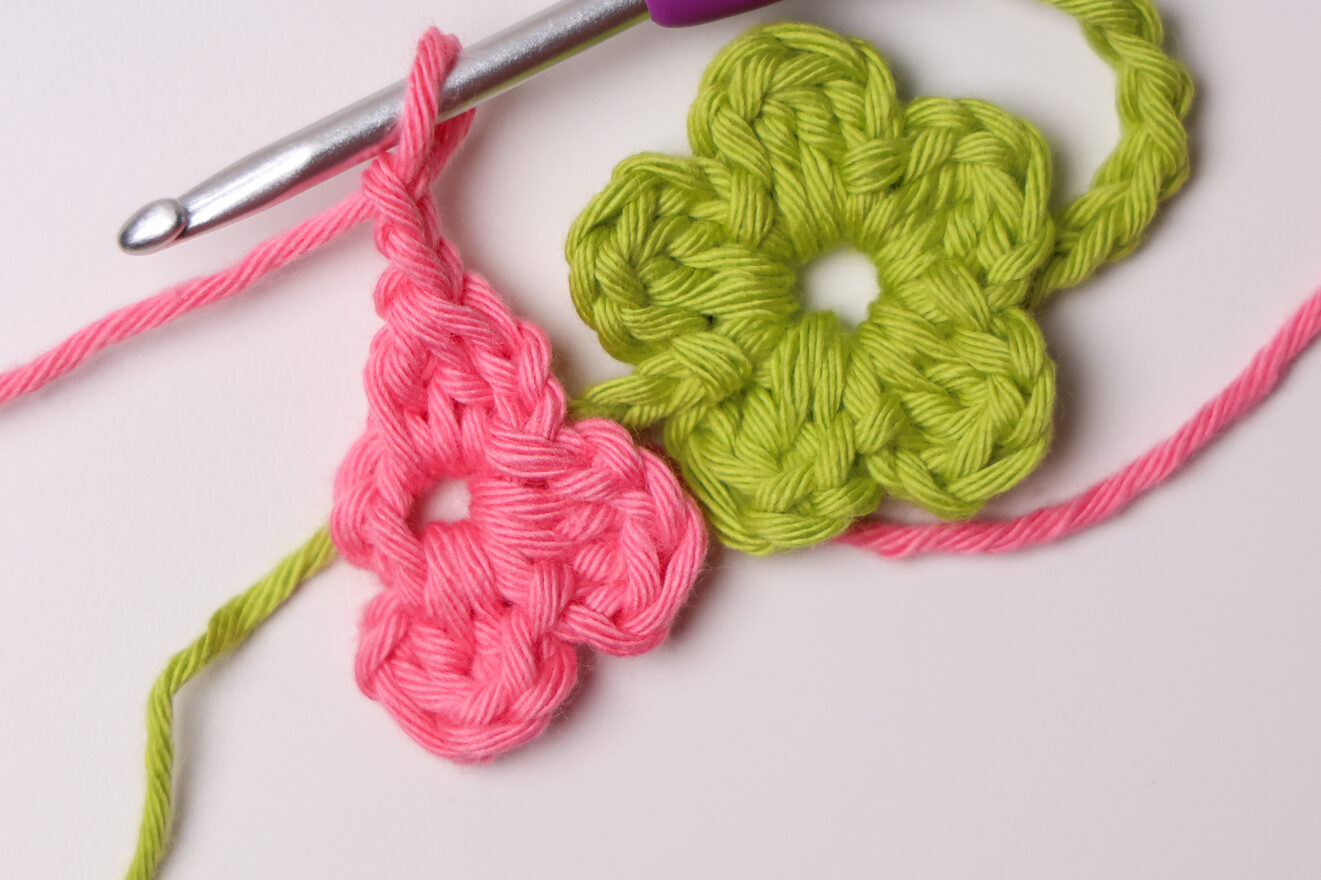
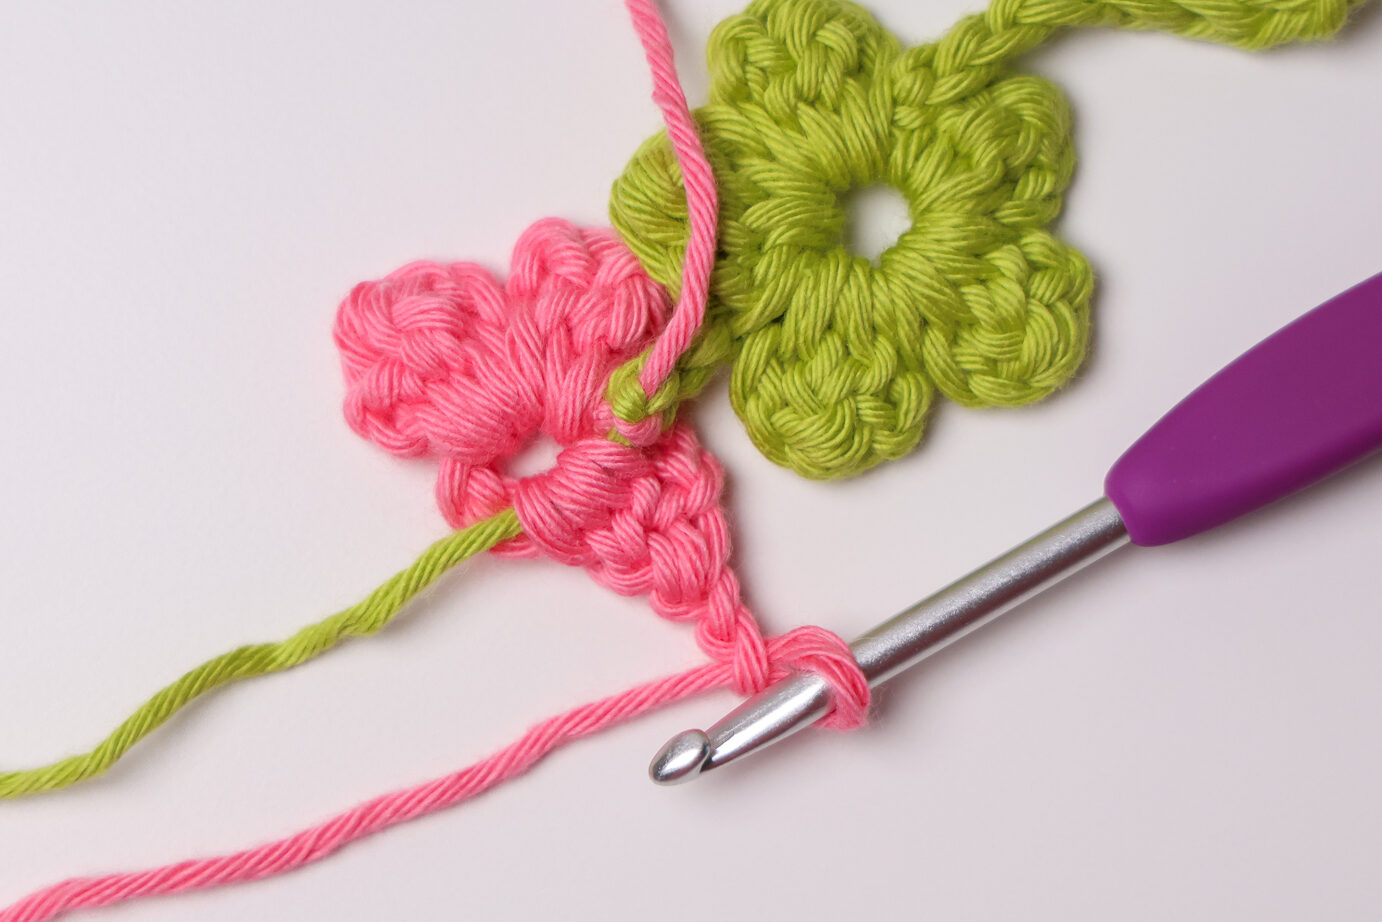
{Ch 2, dc2tog, ch 2, sl st into the ring} rep 2 times.

Ch 2 with Color B yarn, drop your yarn and pull through with Color A. Ch 5.

Repeat until you reach your desired length, alternating yarn after each flower, and end with a tie.

Other Ways To Personalize
Instead of a plain chain tie or a leaf tie, start your tie with a flower! Just ch 5, work your first flower, then chain the length of your tie!
You could also keep the same chain color, and change flower colors each time. Just weave in your ends after each flower!
Love quick projects? Check out our other patterns & tutorials that can be made in one sitting:



Froggie Bag Charm
Flower Chapstick Holder
No responses yet