There’s something undeniably nostalgic about freeze pops – the bright colors, sticky fingers, and the simple joy of a cold treat on a hot day. Our Granny Square Freeze Pop Sleeve pattern takes that childhood favorite and gives it an upgrade that’s practical and cute!
The classic granny square is at the heart of this pattern: timeless, versatile, and perfect for using up those small bits of leftover yarn. By transforming this motif into a functional sleeve, you get the best of both worlds – traditional crochet style and modern-day usefulness.

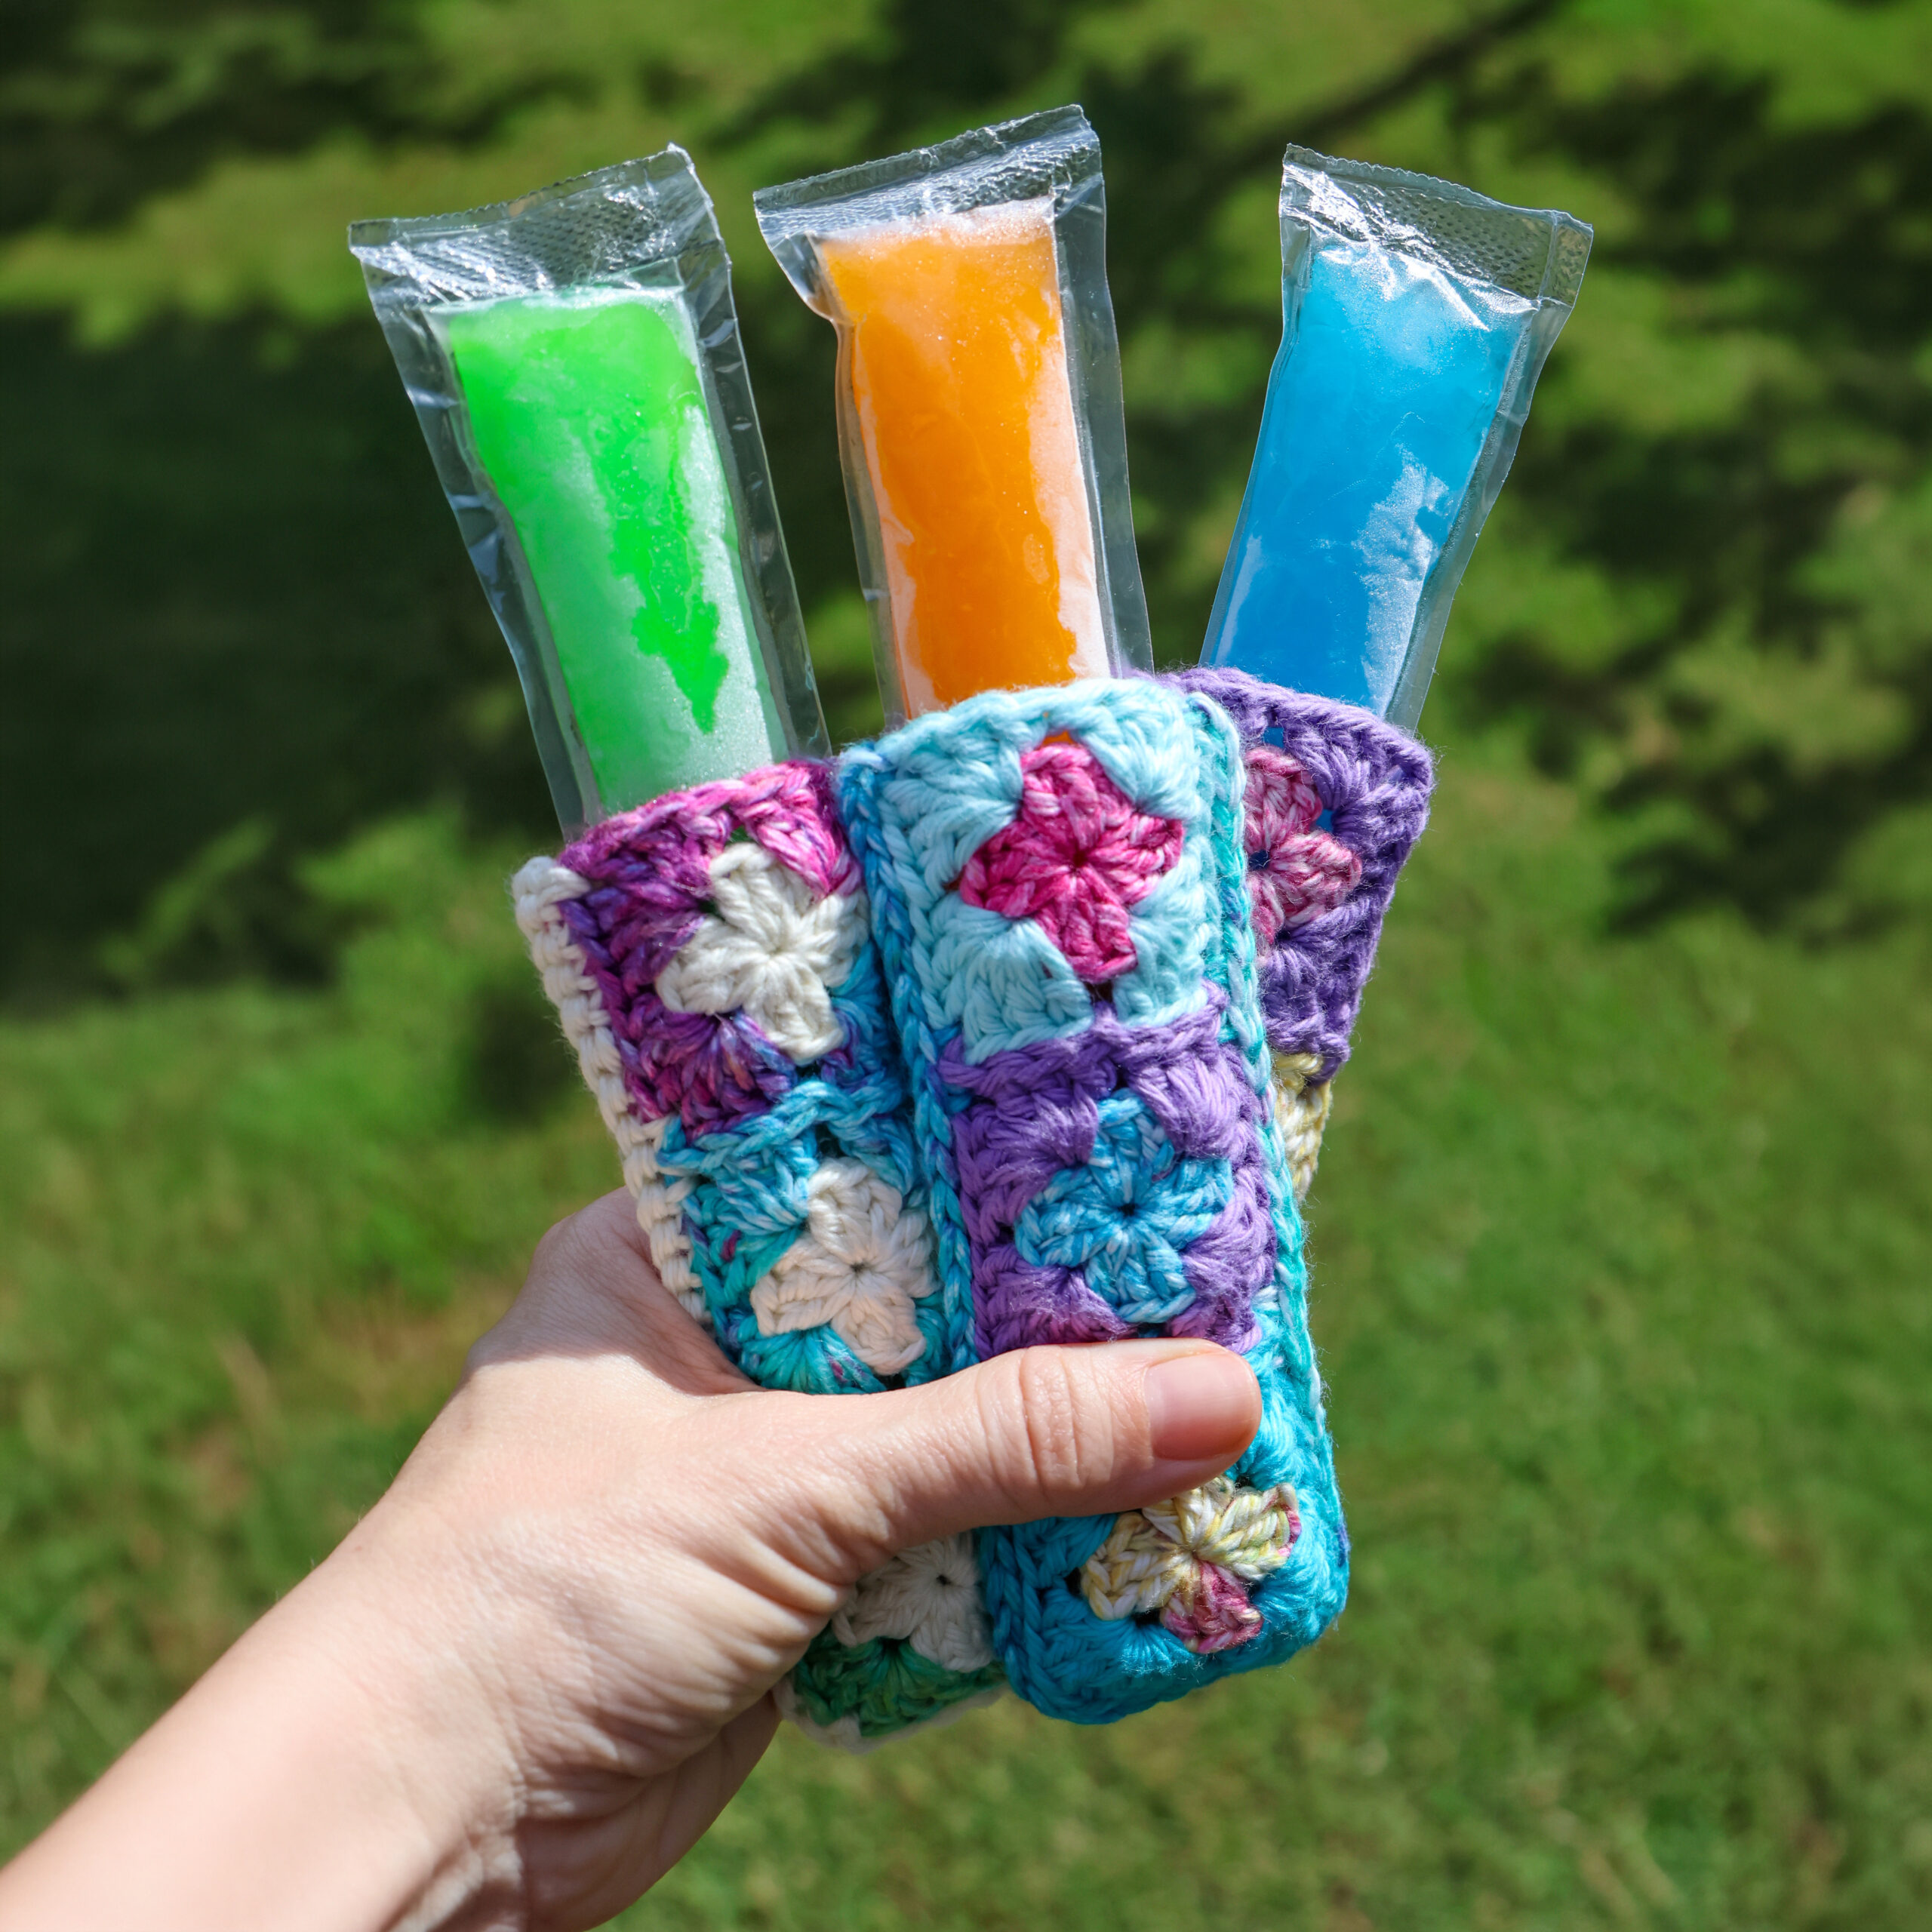
Freeze pops are fun, but they’re also cold – sometimes painfully so. This sleeve creates a soft barrier between little hands (or your own!) and the icy surface, making it more comfortable to hold and enjoy. It also helps absorb condensation as the pop melts, cutting down on drips and sticky messes.
But beyond function, this project is just plain fun to make. Each sleeve works up quickly, making it ideal for beginners looking to practice basic stitches or experienced crocheters who want a satisfying, low-commitment project. It’s also a fantastic stash-buster so those leftover yarn scraps finally have a purpose.


The granny square design gives you endless room for creativity. Go bold with bright, summery colors that match your favorite freeze pop flavors, or keep it classic with soft pastels or neutrals. Mix and match rounds, experiment with color changes, or even make a coordinated set for family and friends. Because the construction is simple and modular, you can easily customize the size or tweak the edging to suit your style.
This post may contain affiliate links. We only recommend products we would use ourselves and all opinions expressed here are our own. Read our full privacy policy and disclosures here.
Materials Needed
- Worsted (#4), I Love This Cotton (100% Cotton), 180 yards (165 m) per 100 g (3.5 oz) skein
- Various Colors (this is a great scrap yarn project!) – less than 1 skein or 30 yds
- Yarn needed per square: Round 1 – 1.5 yds; Round 2 – 2.75 yds
- US G/6 (4 mm) hook – we love Clover Amour hooks
- scissors
- tapestry needle
Abbreviations
US terms
- blo = back loop only
- ch = chain
- ch sp = chain space
- dc = double crochet
- MR = magic ring
- rep = repeat
- sc = single crochet
- sl st = slip stitch
- sp = space
- sts = stitches
Size
Each square measures 1.75″ x 1.75″
Finished Sleeve measures 5.5″ x 2.25″
For a bigger sleeve, increase your hook size!
Notes
- 2 sc: make 2 single crochet stitches into the next stitch
- sc 2: make 1 single crochet in the next two stitches
- (xyz): all stitches are worked into the same stitch/space
- {xyz}: repeat those stitches a certain number of times
- Stitch counts: Stitch counts are listed in brackets [ ] at the end of the row/round. Chains between stitches do not count in stitch counts, unless otherwise noted.
- Our Granny Square Headband Tutorial shows how to make the granny squares and join them. Watch that here: https://youtu.be/H4Z9_BEOboY
Pattern
Square 1
Make a MR or ch 4 & sl st to first ch to join to create a ring.
Round 1: Ch 3, 2 dc, ch 1, {3 dc, ch 1} rep 3 times, sl st to top of ch 3 to join. [12 dc]
Cut yarn and weave in ends.


Attach new yarn in any ch 1 sp (corner).
Round 2: Ch 3, (2 dc, ch 1, 3 dc) in same ch sp. {(3 dc, ch 1, 3 dc) in next ch sp} rep 3 times, sl st to top of ch 3 to join. [24 dc]
Cut yarn and weave in ends.


Square 2
Make a MR or ch 4 & sl st to first ch to join to create a ring.
Round 1: Ch 3, 2 dc, ch 1, {3 dc, ch 1} rep 3 times, sl st to top of ch 3 to join. [12 dc]
Cut yarn and weave in ends.
Attach new yarn in any ch 1 sp (corner).
Round 2: Ch 3, (2 dc, ch 1, 3 dc) in same ch sp, 3 dc, ch 1 in next ch sp.

Now we’ll join the squares.
Insert hook into the bottom right corner of Square 1 from front to back and sl st, then complete the corner with 3 dc in Square 2.


Sl st into the next space (between dc clusters) of Square 1.

3 dc in next Square 2 corner, sl st in Square 1 corner, ch 1.

Complete the corner with 3 dc in Square 2.

(3 dc, ch 1, 3 dc) in next ch 1 sp of Square 1, sl st to top of ch 3 to join.
Cut yarn and weave in ends.

Square 3
Repeat Square 2 instructions to join Square 3 to Square 2.
Repeat and make a second 3-square piece.

Joining
Option 1: Open Bottom
Make a slip knot and attach yarn in the top left corner ch 1 sp of panel #1.

With wrong sides facing, sc through the same corner space of both panels.

Continue working through both panels sc blo in each st and sc in each corner ch 1 sp around, ending in the bottom left corner ch 1 sp as follows:
sc blo 6,
sc in the next 2 corner ch 1 spaces,
sc blo 6,
sc in the next 2 corner ch 1 spaces,
sc blo 6,
sc in the corner ch 1 sp
Cut yarn and weave in ends.


With the same side facing up, repeat on the opposite side.


Option 2: Closed Bottom
Make a slip knot and attach yarn in the top left corner ch 1 sp of panel #1.
With wrong sides facing, sc through the same corner space of both panels.
Continue working through both panels sc blo in each st and sc in each corner ch 1 sp around, ending in the top right corner ch 1 sp as follows:
sc blo 6,
sc in the next 2 corner ch 1 spaces
sc blo 6,
sc in the next 2 corner ch 1 spaces,
sc blo 6,
sc in the corner ch 1 sp,
sc blo 6
sc in the corner ch 1 sp,
sc blo 6,
sc in the next 2 corner ch 1 spaces,
sc blo 6,
sc in the next 2 corner ch 1 spaces,
sc blo 6,
sc in the corner ch 1 sp.
Cut yarn and weave in ends.

Option 3: Sewing
Cut a 20″ piece of yarn. With WS facing each other, sew through the back loops only of both panels, either all the way around, or just on the sides.


Love granny square projects? Check out our other patterns & tutorials that feature the traditional granny square motif:


Granny Square Duster
Granny Square Zipper Bag
No responses yet